- Login Screen
- Creating Sections
- Creating Subsections
- Bookmark Sections
- Creating Content
- Editing Content
- Creating Web Links
- Creating Email Links
- Creating Section Links
- Creating Content Links
- Creating a File Download
- Updating a File in the Filestore
- Reordering Content & Sections
- Using the Media Library
- Section Filtering
Creating a File Download
Overview
There are two key steps to carry out when creating a file download:
- Uploading the file itself into the CMS
- Linking to that file from a page within your website, so that it opens for the user to view
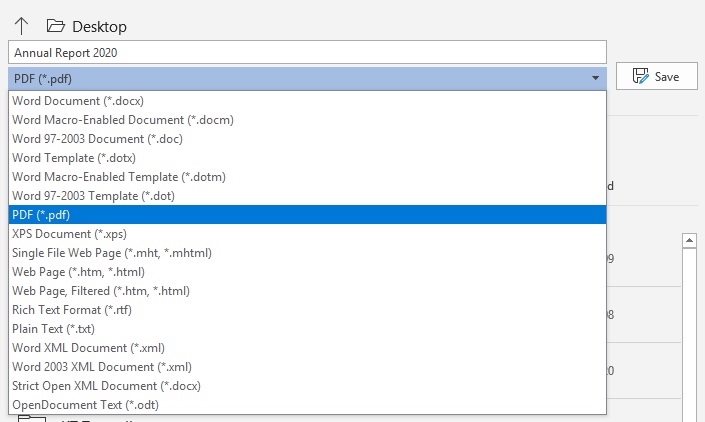
You will need the file on your computer, ready to upload and saved as a PDF.
You can save any MS document such as Word or Powerpoint as a PDF. Make sure your file meets the required Accessibility guidelines.
All files (e.g., PDFs, Word documents, Excel documents, etc.) must have the correct filename BEFORE they are uploaded to the File Store. This means they must have the guidance below applied whilst the assets are held on your computer or within the SharePoint site for your business area.
The guidance is as follows:
-
- Use only lowercase letters (a to z), numerals (0-9) and hyphens (-).
- Do not use spaces. Instead, use hyphens to separate words.
- Do not use special characters (e.g., £, %, &, á) or underscores.
Uploading a file is exactly the same as creating a new piece of content on a web page.
Once the file is uploaded, you then create a Content Link to this piece of content, from the required location within your site.
How to Upload a File to the Filestore
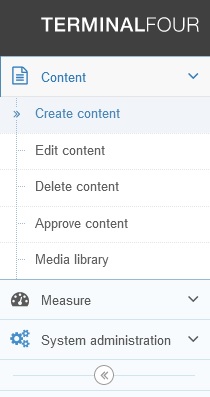
1. From the Content menu, click Create Content
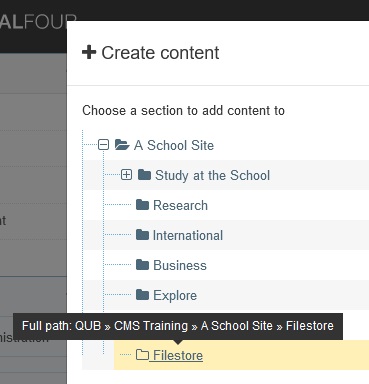
2. Click on the section Filestore in your Site Structure
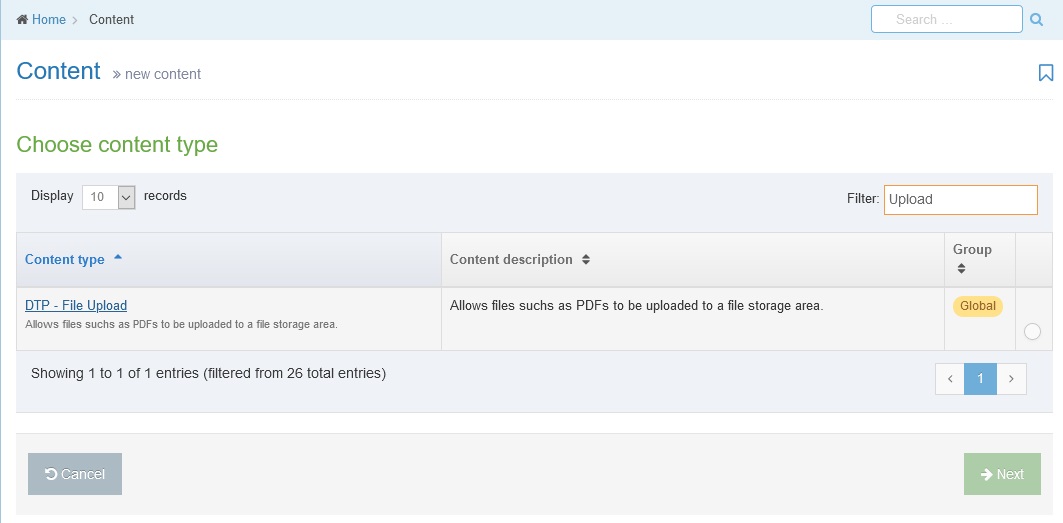
3. Click on the DTP-File Upload content type from the available list (you can use the Filter field to help you locate the content type)
4. In the Name field, type a descriptive name for the piece of content:
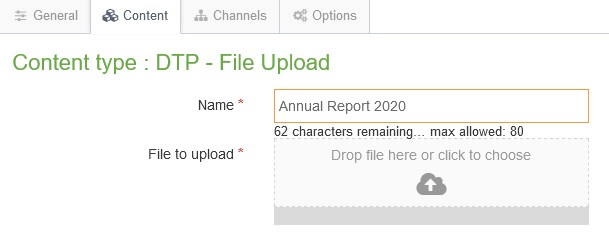
5. In the File to Upload field, click to browse your computer for the required file:
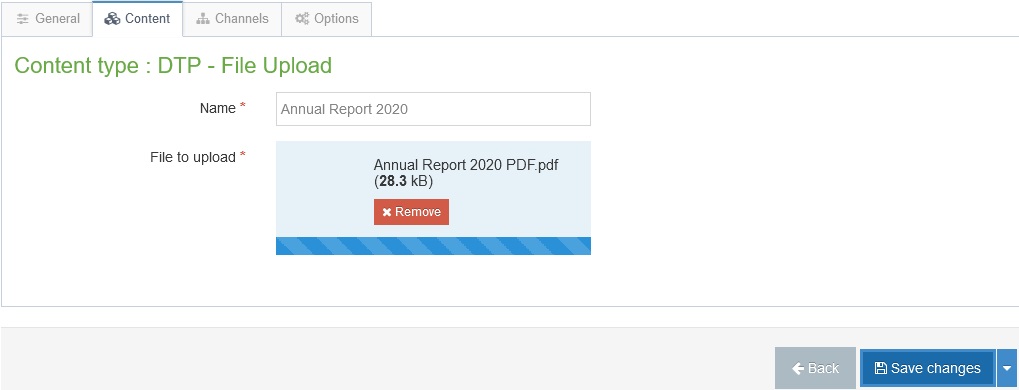
6. Click Save Changes
7. Approve the piece of content